Install Required Software
The following software is required to be installed prior to installing TIKTING - Enterprise Service Management System.
Table of contents
- Step 1 - Install Dot Net Frameworks
- Step 2 - Install IIS Web Server
- Step 3 - Install Microsoft URL Rewrite Module
- Step 4 - Install Microsoft Application Request Routing
- Step 5 - Enable Proxy Server
- Step 6 - Enable Request Headers Forwarding
- Step 7 - Prevent Exposing IIS Server Version Information
- Step 8 - Install SQL Server 2019
- Step 9 - Download and Install Essential Supported Software
- Step 10 - Install SSMS
- Step 11 - Install ASP.NET Core Runtime Hosting Bundle
Step 1 - Install Dot Net Frameworks
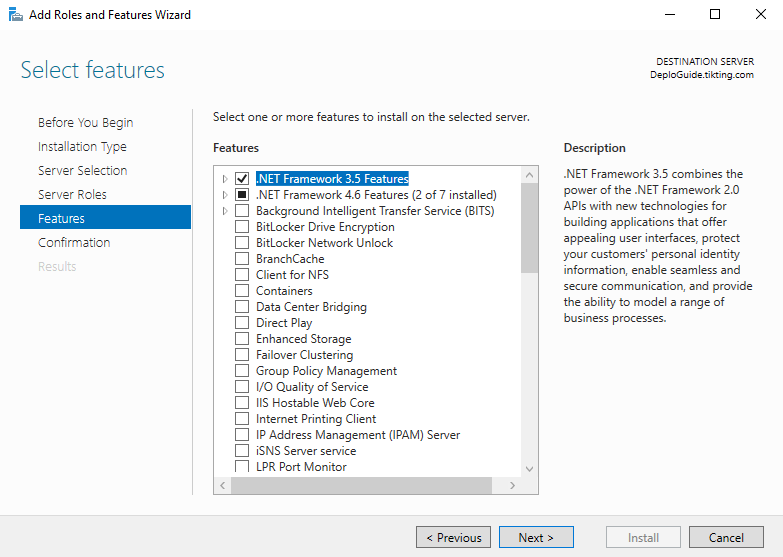
- Install .Net Framework 3.5 and 4.6 from Server Manager > Roles and Features.
Step 2 - Install IIS Web Server
- Install IIS Server from Server Manager > Roles and Features.
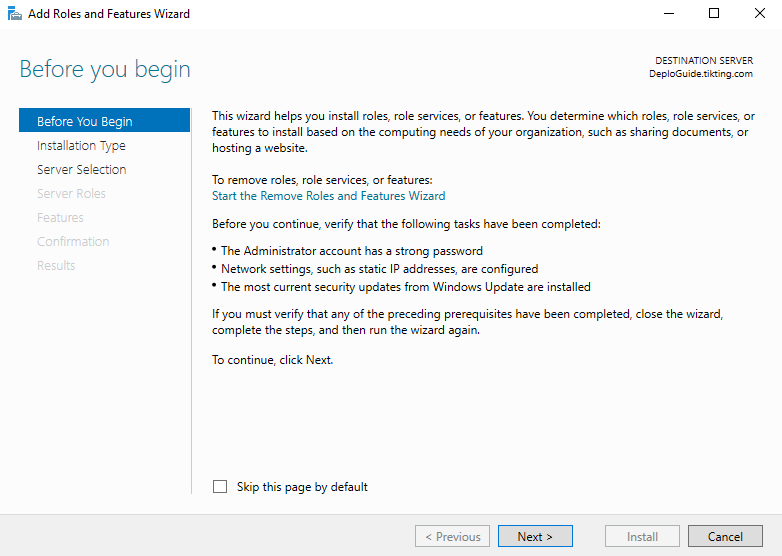
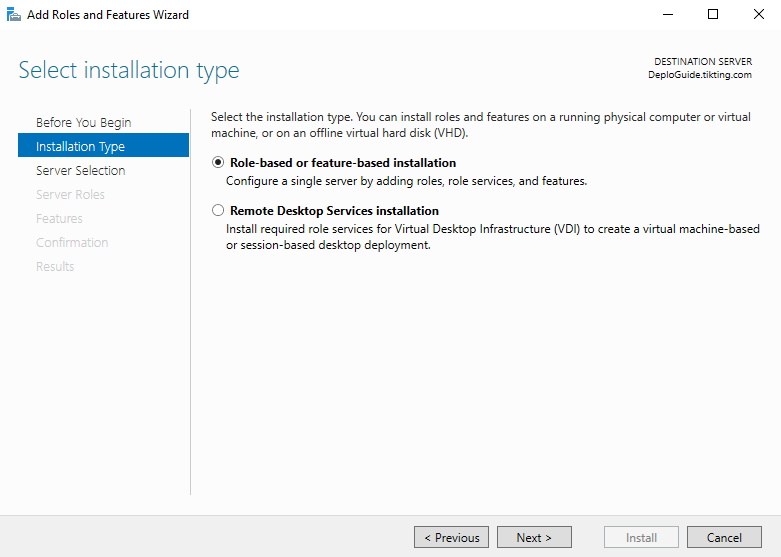
- Choose Role-based or feature-based installation.
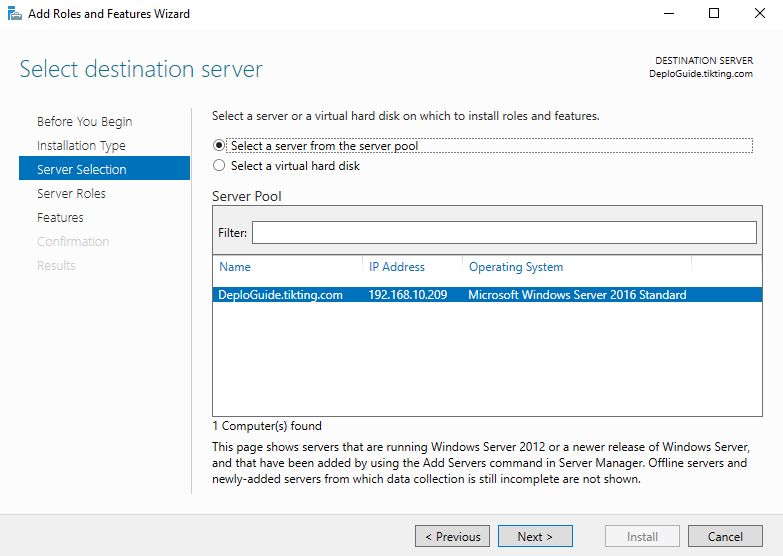
- Choose your server / vm from the list and click next.
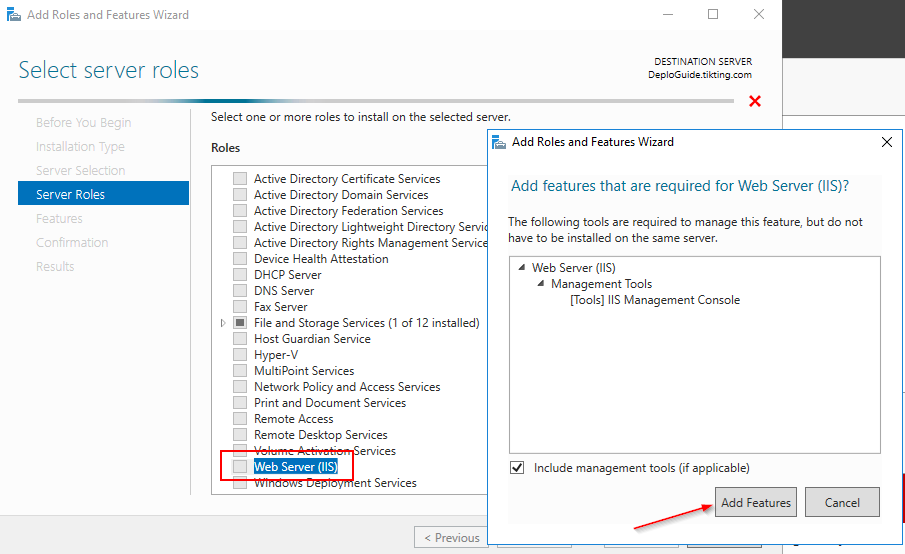
- From the list please select Web Server (IIS) and click ‘Add Features’.
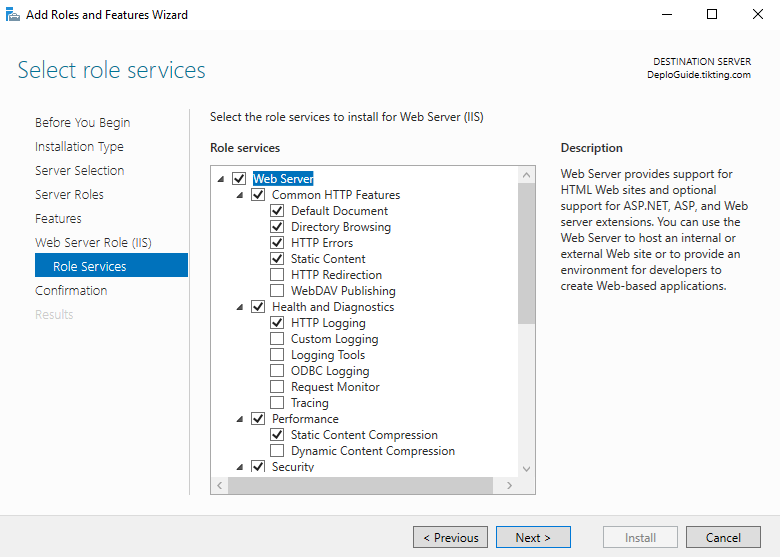
- Click next through the coming installation screens. Choose Web Server with the default options.
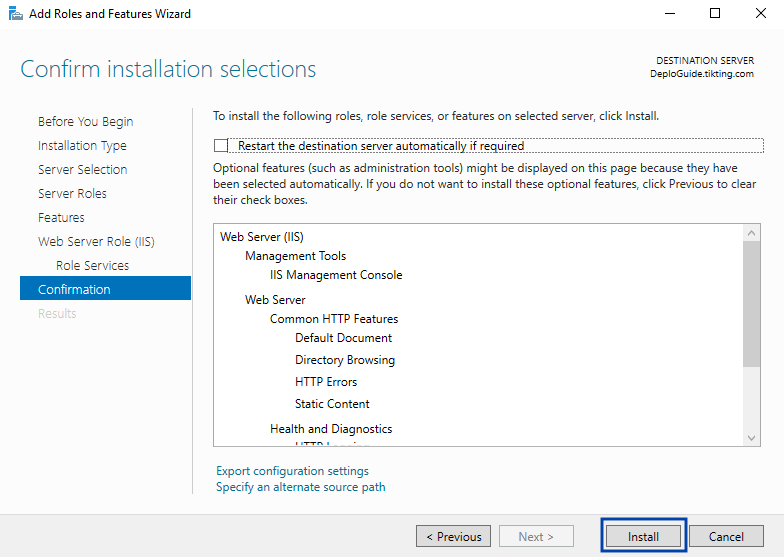
- Go through the confirmation page and install.
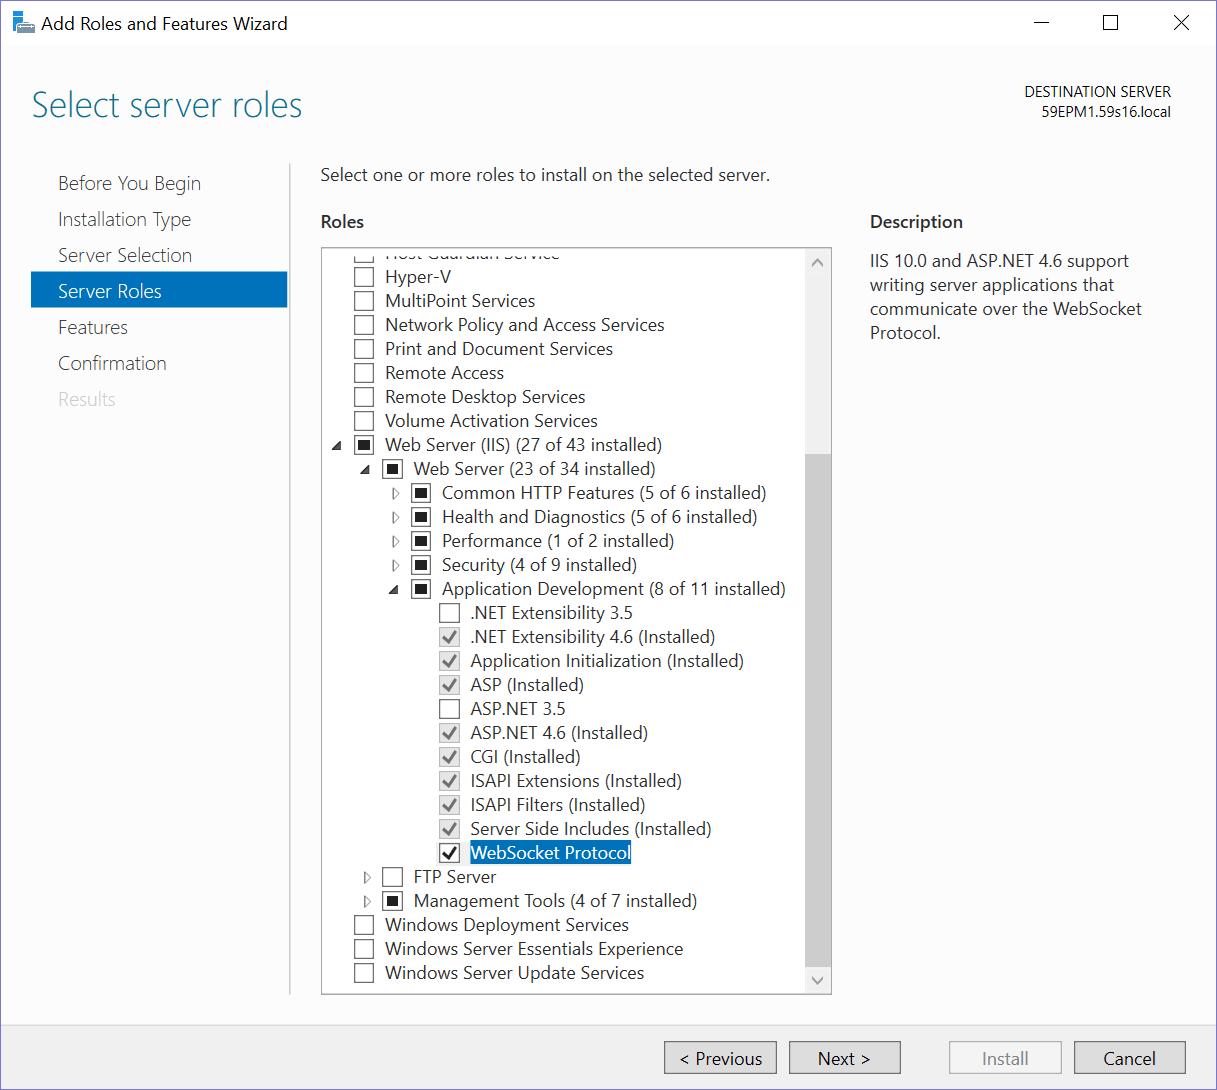
- Install Web Socket Protocol
Go to Server Roles and install the Web Socket Protocol.
Step 3 - Install Microsoft URL Rewrite Module
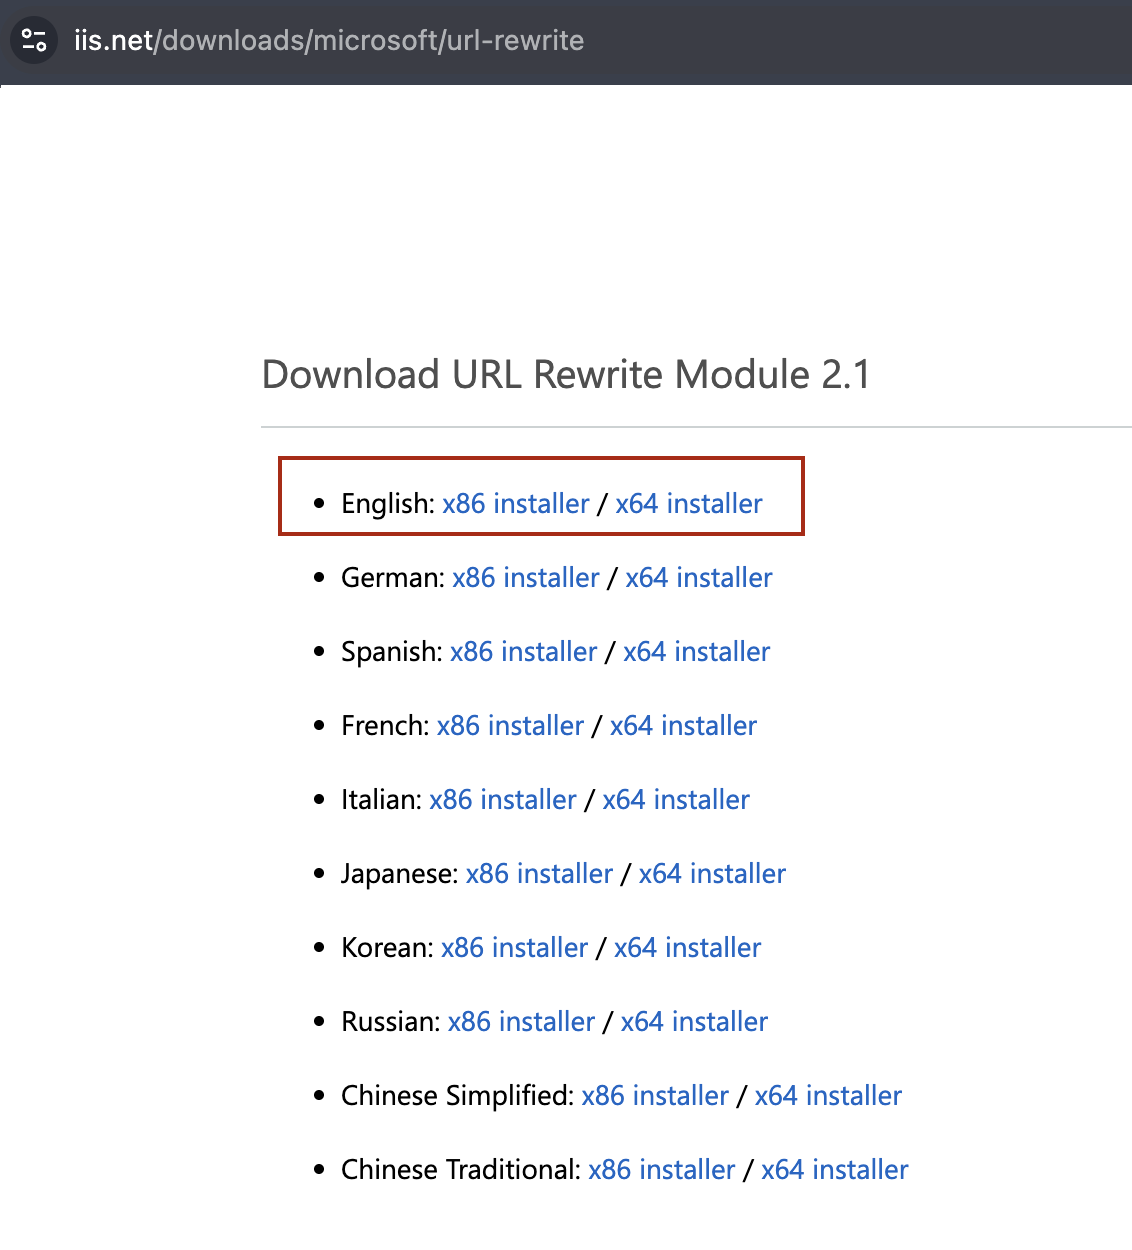
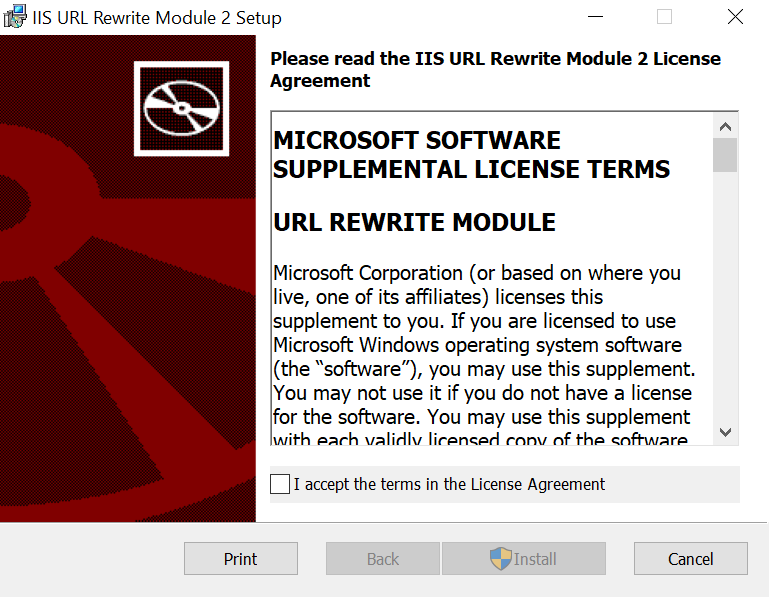
- Download and Install the Microsoft URL Rewrite Module
Step 4 - Install Microsoft Application Request Routing
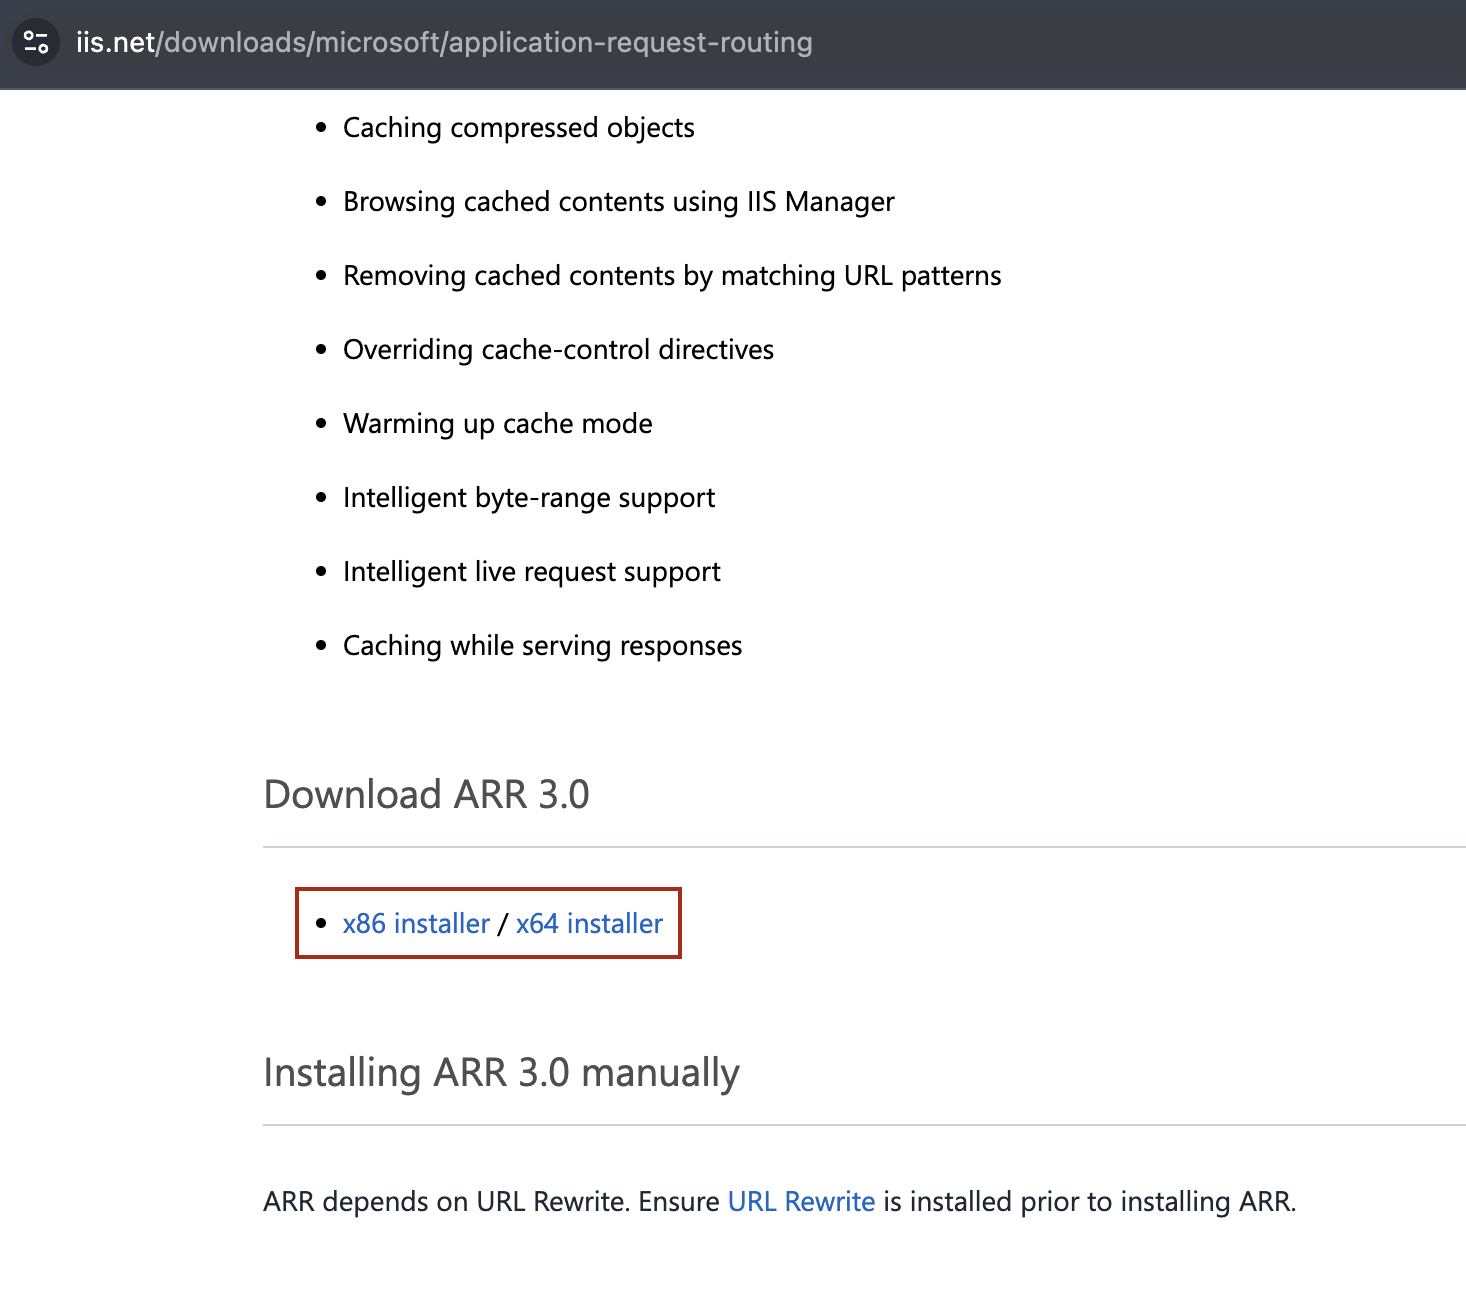
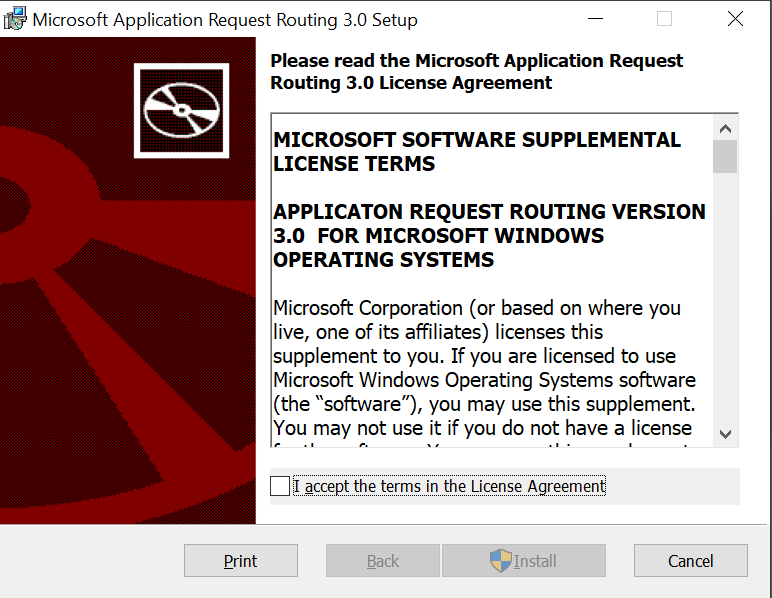
- Download and Install Microsoft Application Request Routing
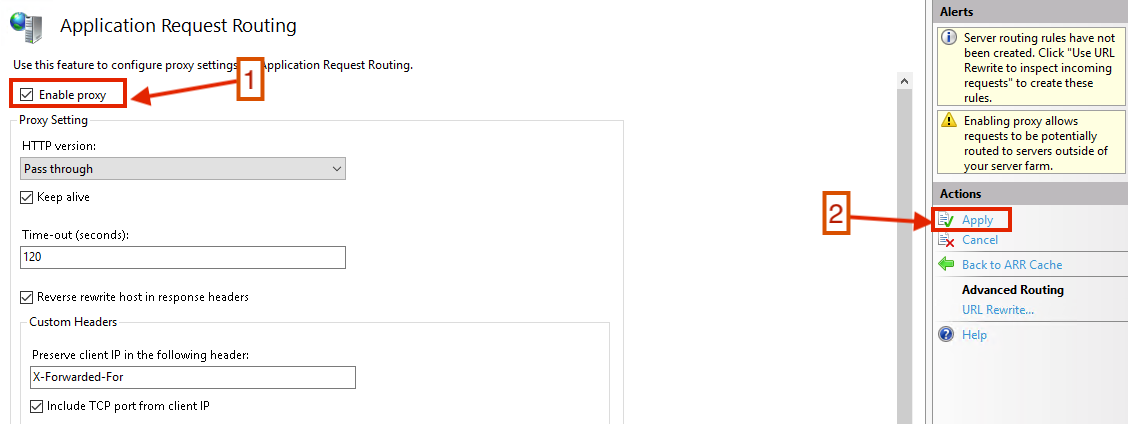
Step 5 - Enable Proxy Server
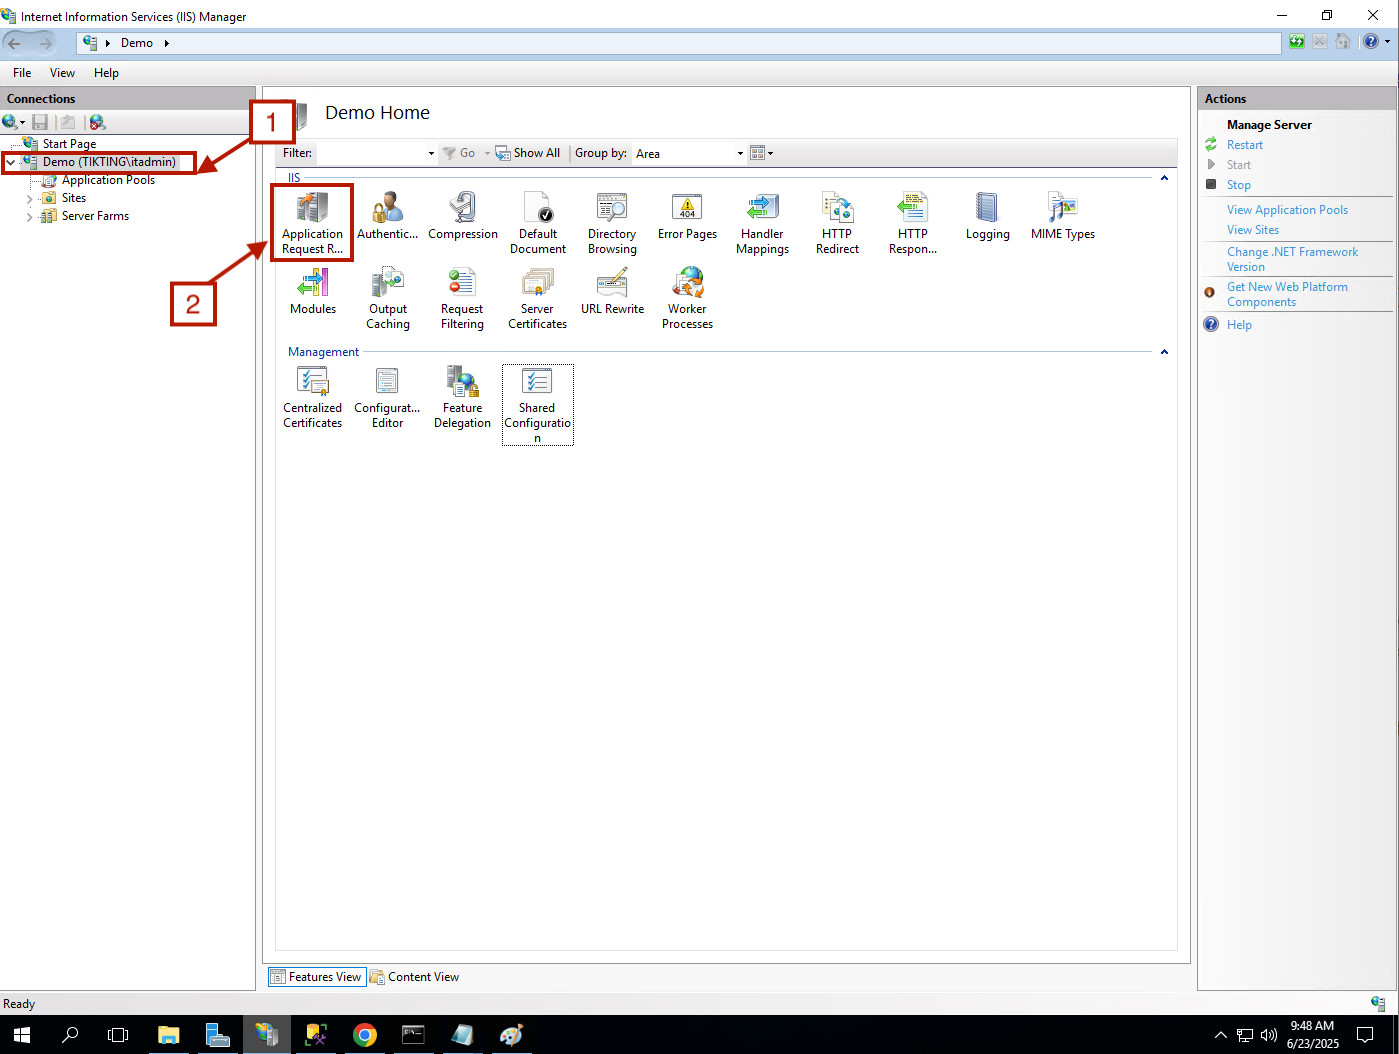
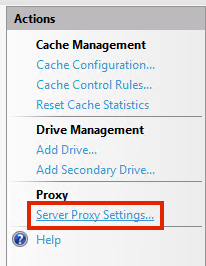
- Enable Proxy Server in IIS
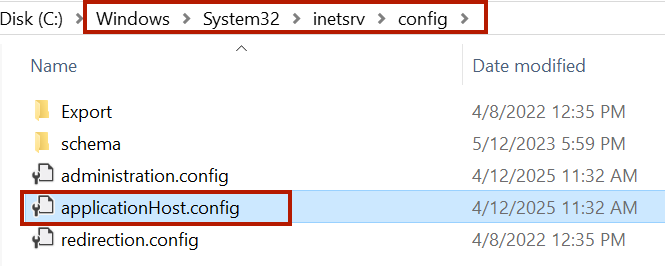
Step 6 - Enable Request Headers Forwarding
- Enable Request Header Forwarding
<rewrite>
    <allowedServerVariables>
        <add name="HTTP_X_FORWARDED_HOST" />
        <add name="HTTP_X_FORWARDED_PROTO" />
        <add name="HTTP_X_FORWARDED_FOR" />
    </allowedServerVariables>
</rewrite>
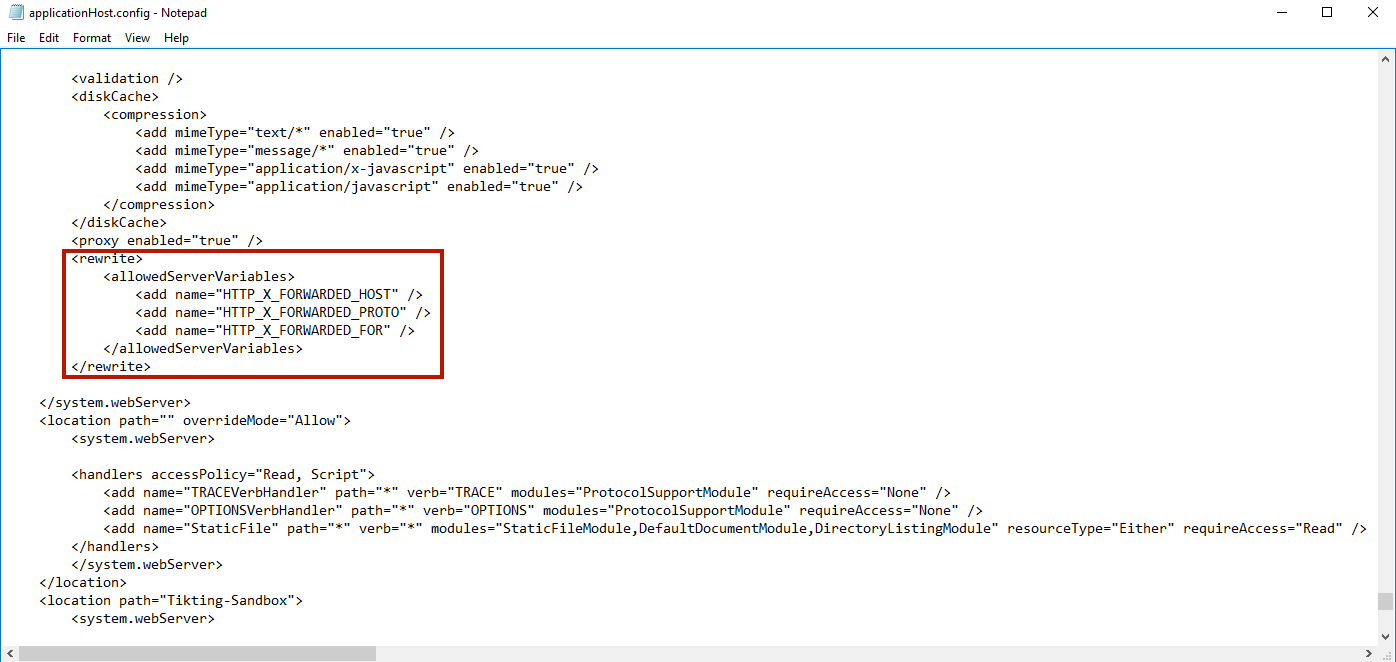
- Update the Rewrite Rule as shown in the picture above.
Step 7 - Prevent Exposing IIS Server Version Information
New-ItemProperty -Path "HKLM:\SYSTEM\CurrentControlSet\Services\HTTP\Parameters" -Name "DisableServerHeader" -Value 2 -PropertyType DWORD -Force
- Run this command as a system administrator in PowerShell.
- Restart the Machine
Step 8 - Install SQL Server 2019
-
Run the SQL Server 2019 Installer.
-
Choose ‘New SQL Server stand-alone installation or add features to an existing installation’.
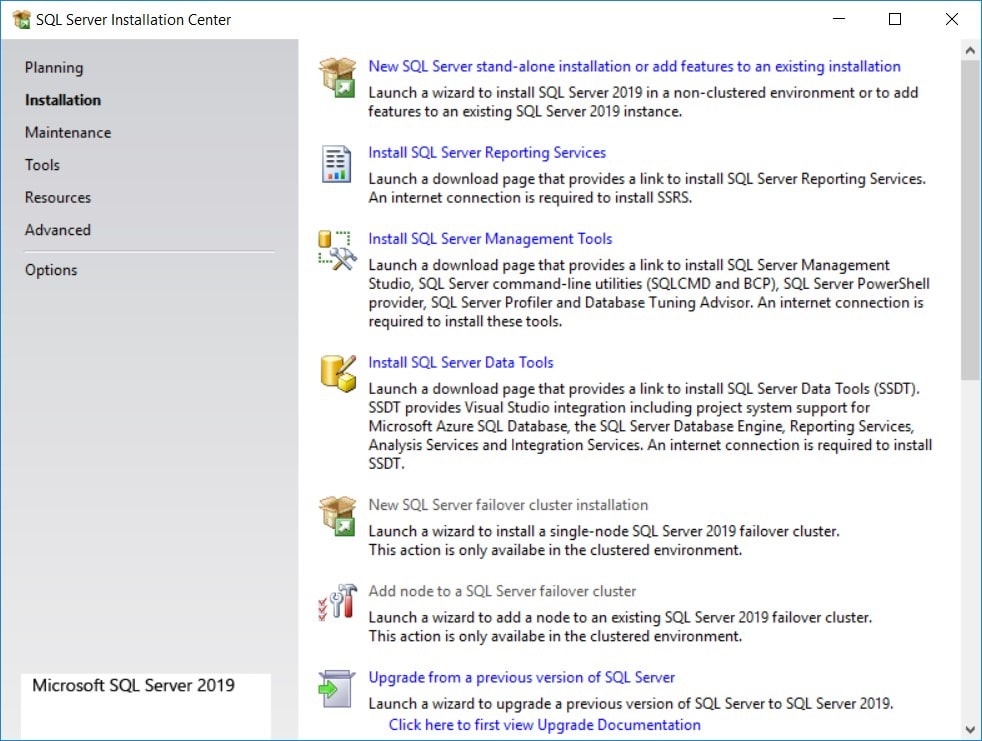
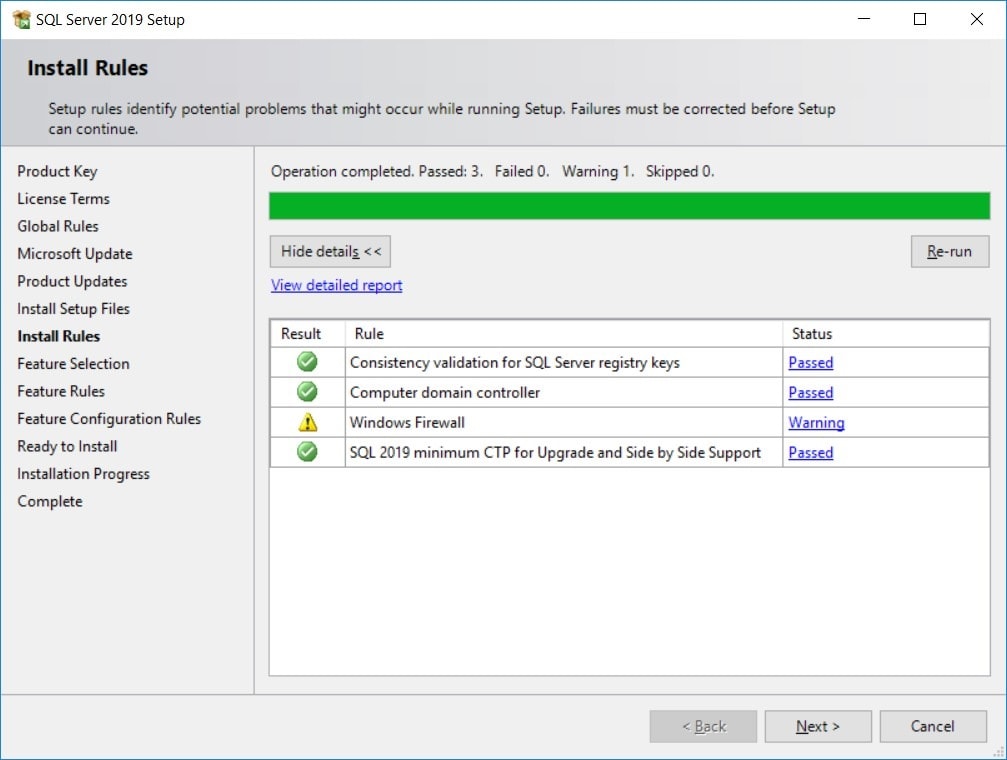
- Click Next through the following screen that checks Install rules. If your firewalls are still turned on, please turn them off for now. When all the statuses have passed, please click next.
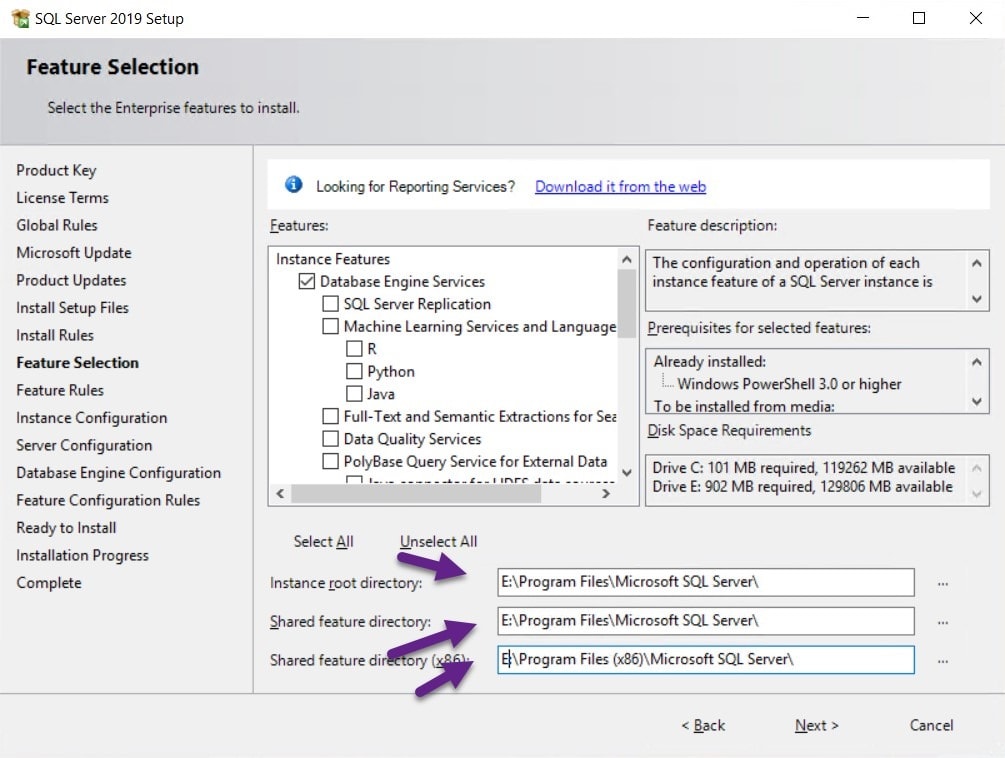
- Database Engine Services are required. Meet the remaining prerequisites (if any) and click next.
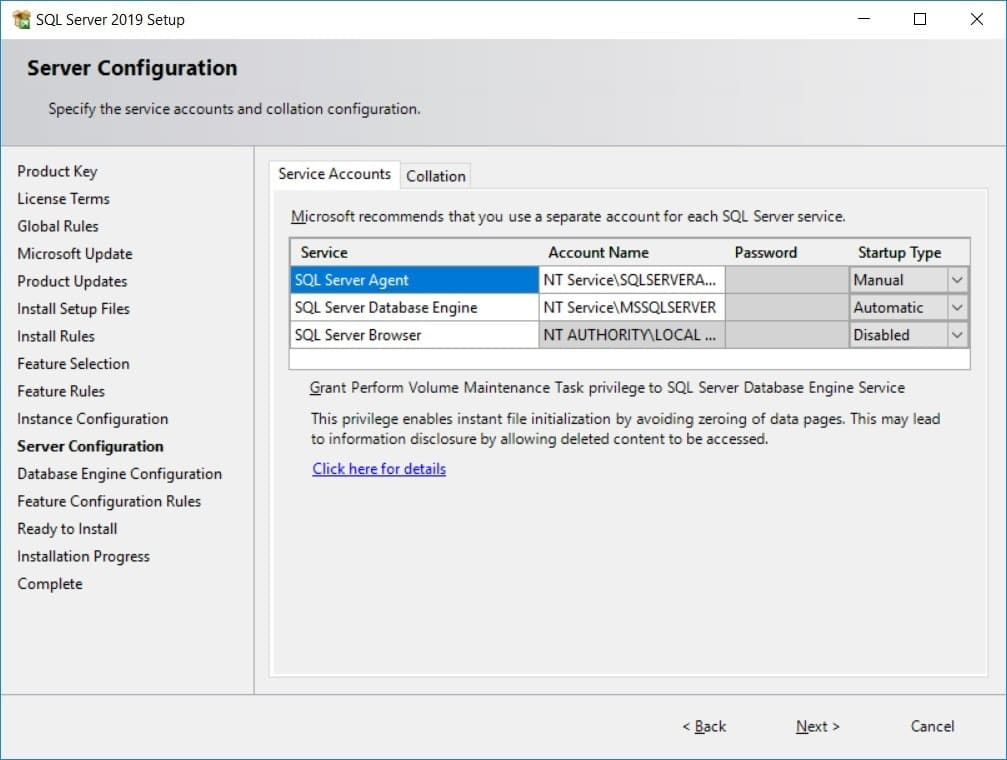
- Click Next through the installation screens up to Server Configuration.
Please select your Service Accounts and choose Automatic Start in the startup types for all accounts.
- SQL Server Agent
- SQL Server Database Engine
- SQL Server Browser Services
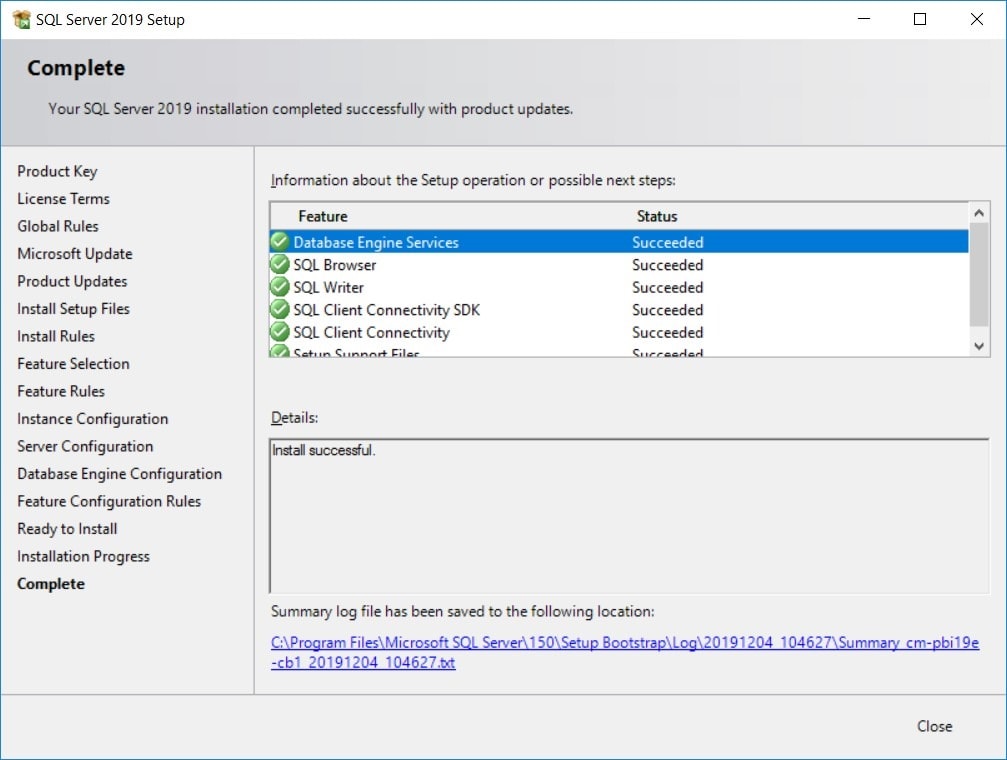
- Click Next through the Installation screens and reach the Database Engine Configuration. Select Mixed Mode, set the “sa” password, and proceed through the installation.
Step 9 - Download and Install Essential Supported Software
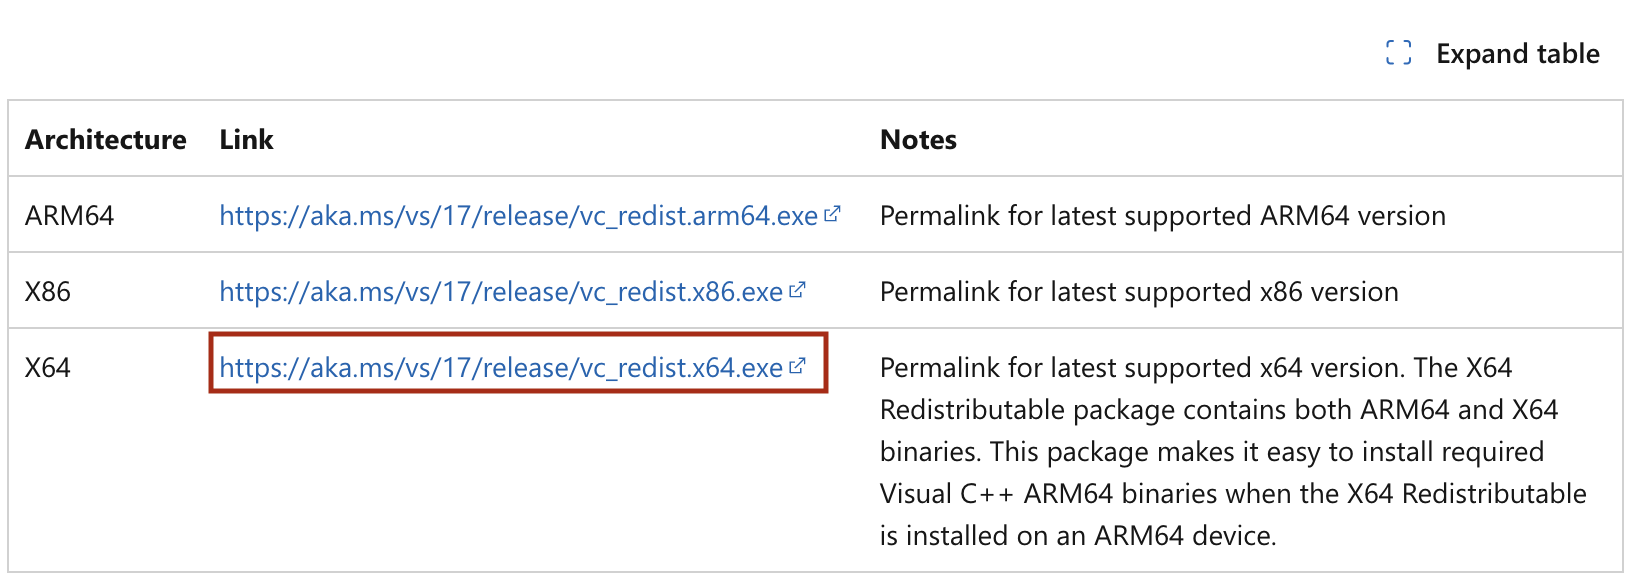
- Download and Install the Microsoft Visual C++ Redistributable
Download Microsoft C++ Redistribution
- Download and Install ODBC Driver for SQL Server
Download Microsoft ODBC Driver for SQL Server

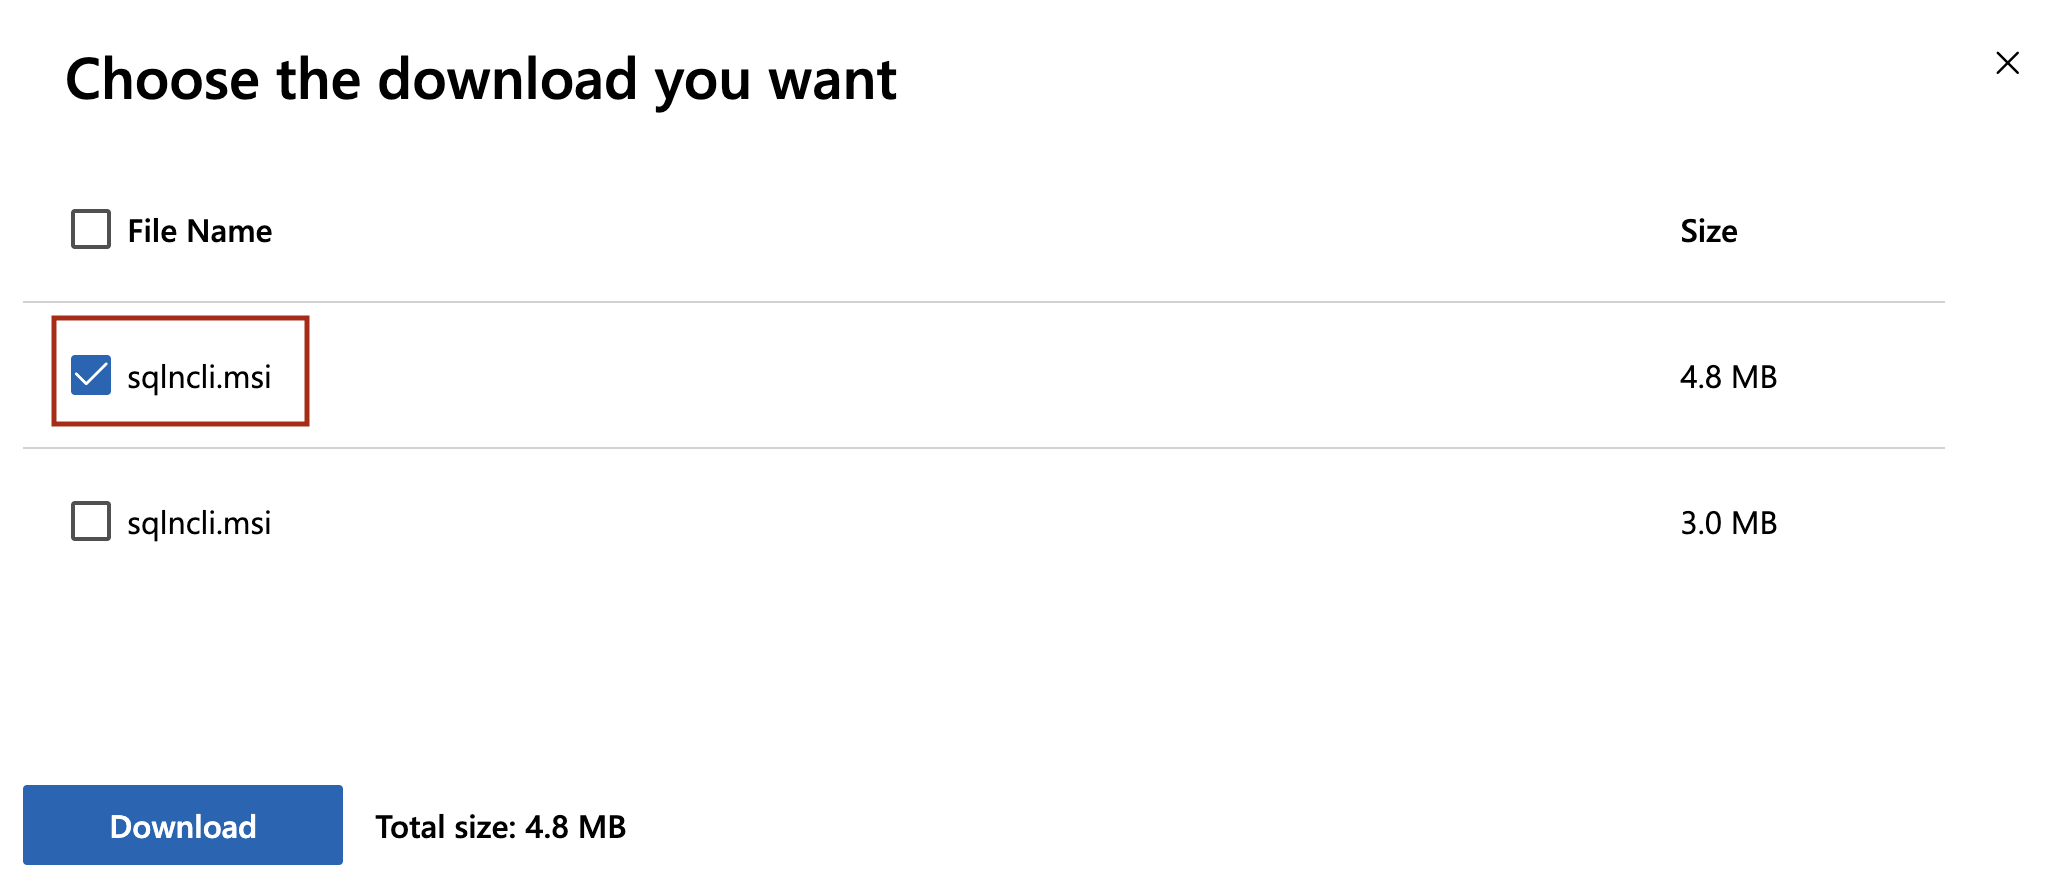
- Download and Install Microsoft® SQL Server® 2012 Native Client
Download Microsoft SQL Server Native Client
Step 10 - Install SSMS
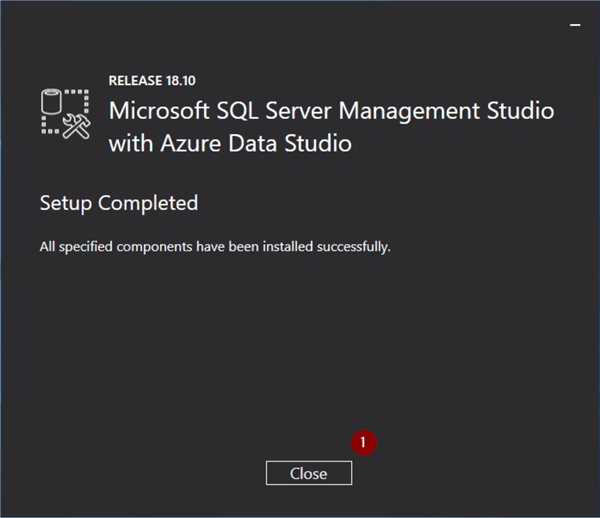
- SSMS (SQL Server Management Studio) is an integrated environment for managing any SQL infrastructure. Please download and install SSMS from the Microsoft website.
Step 11 - Install ASP.NET Core Runtime Hosting Bundle
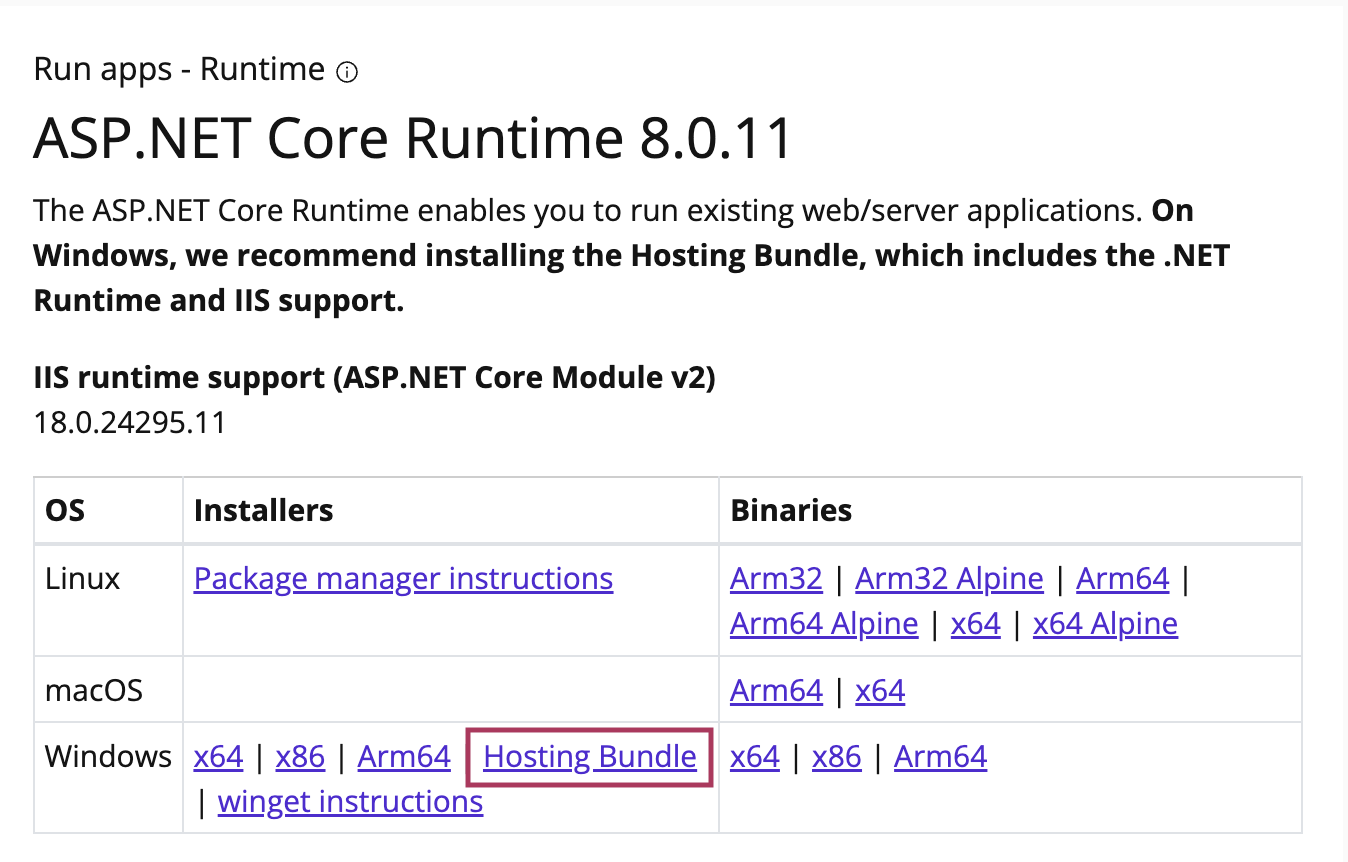
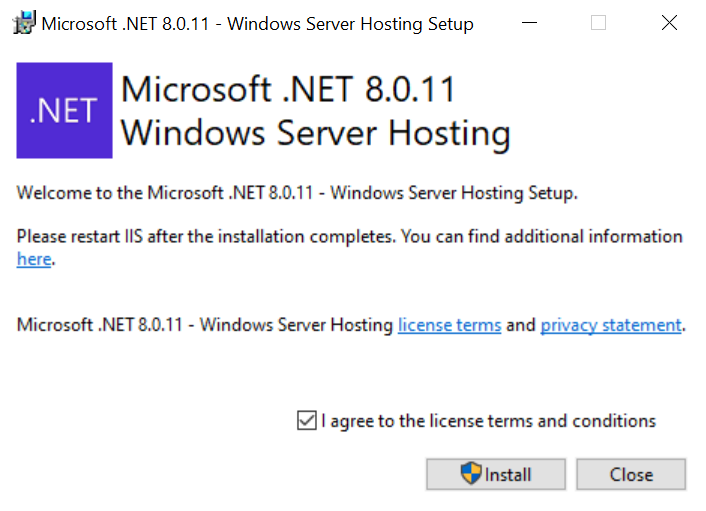
- Please download and install ASP.NET Core Runtime 8.x.x (Hosting Bundle)