Table of contents
Change SLA
Change SLA can be configured much the same way as Tickets SLA.
Add Change SLA
To add SLA for change, go to:
Customize > Change Management > Change SLA
Press Add SLA and proceed through the next screen. Set your Change SLA settings and save.
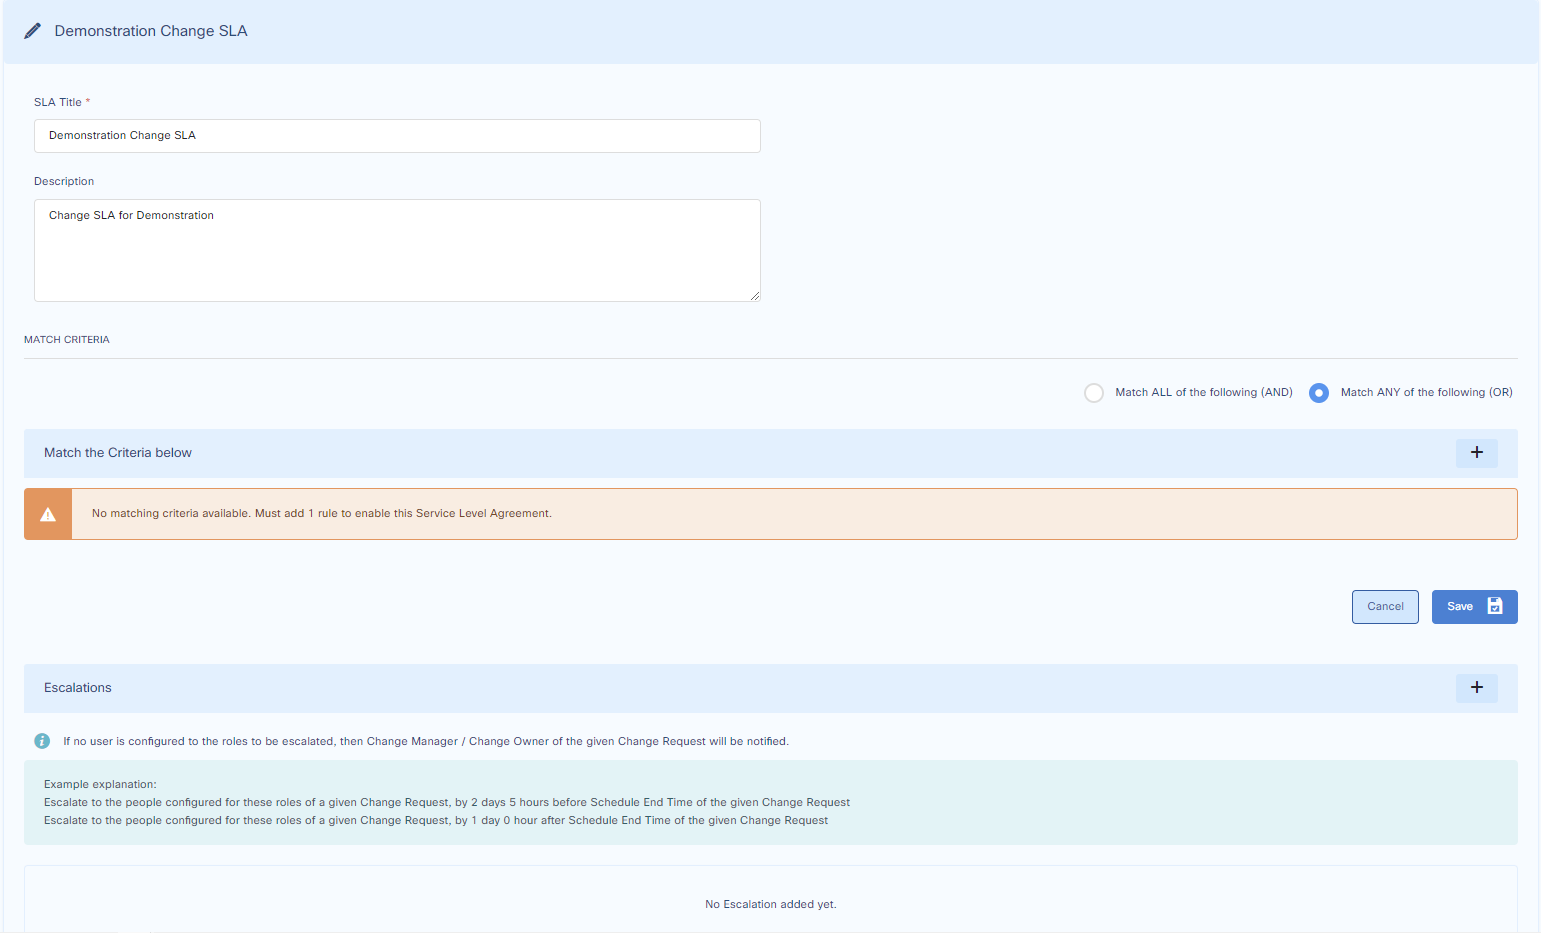
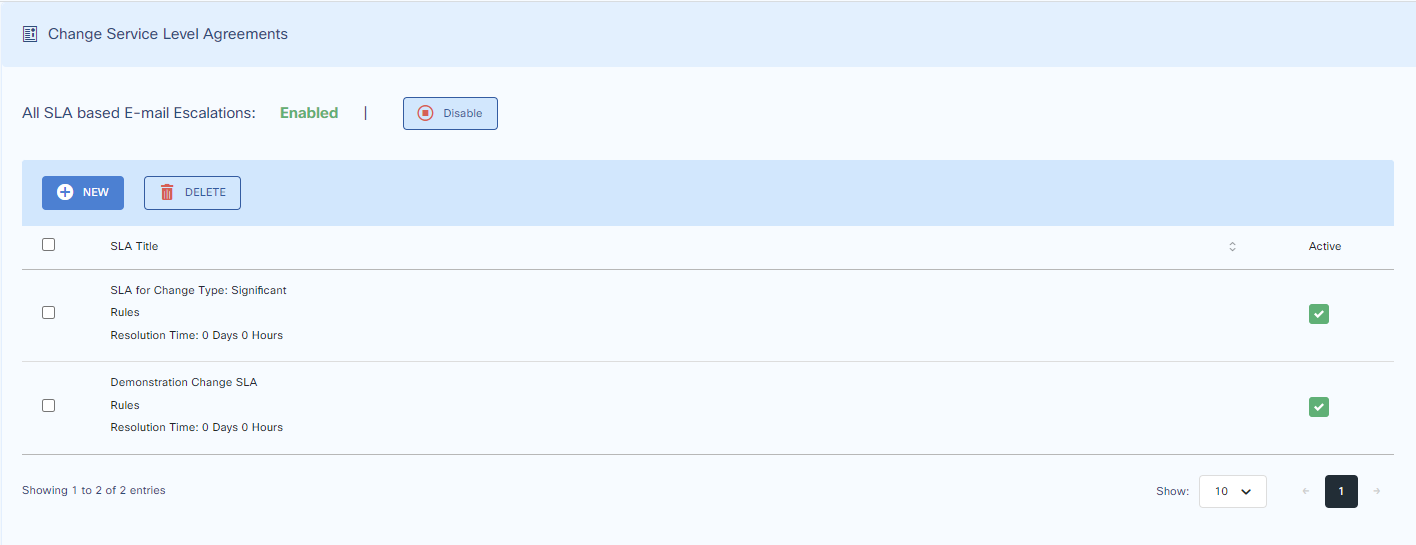
You can configure your Change SLA as shown below.
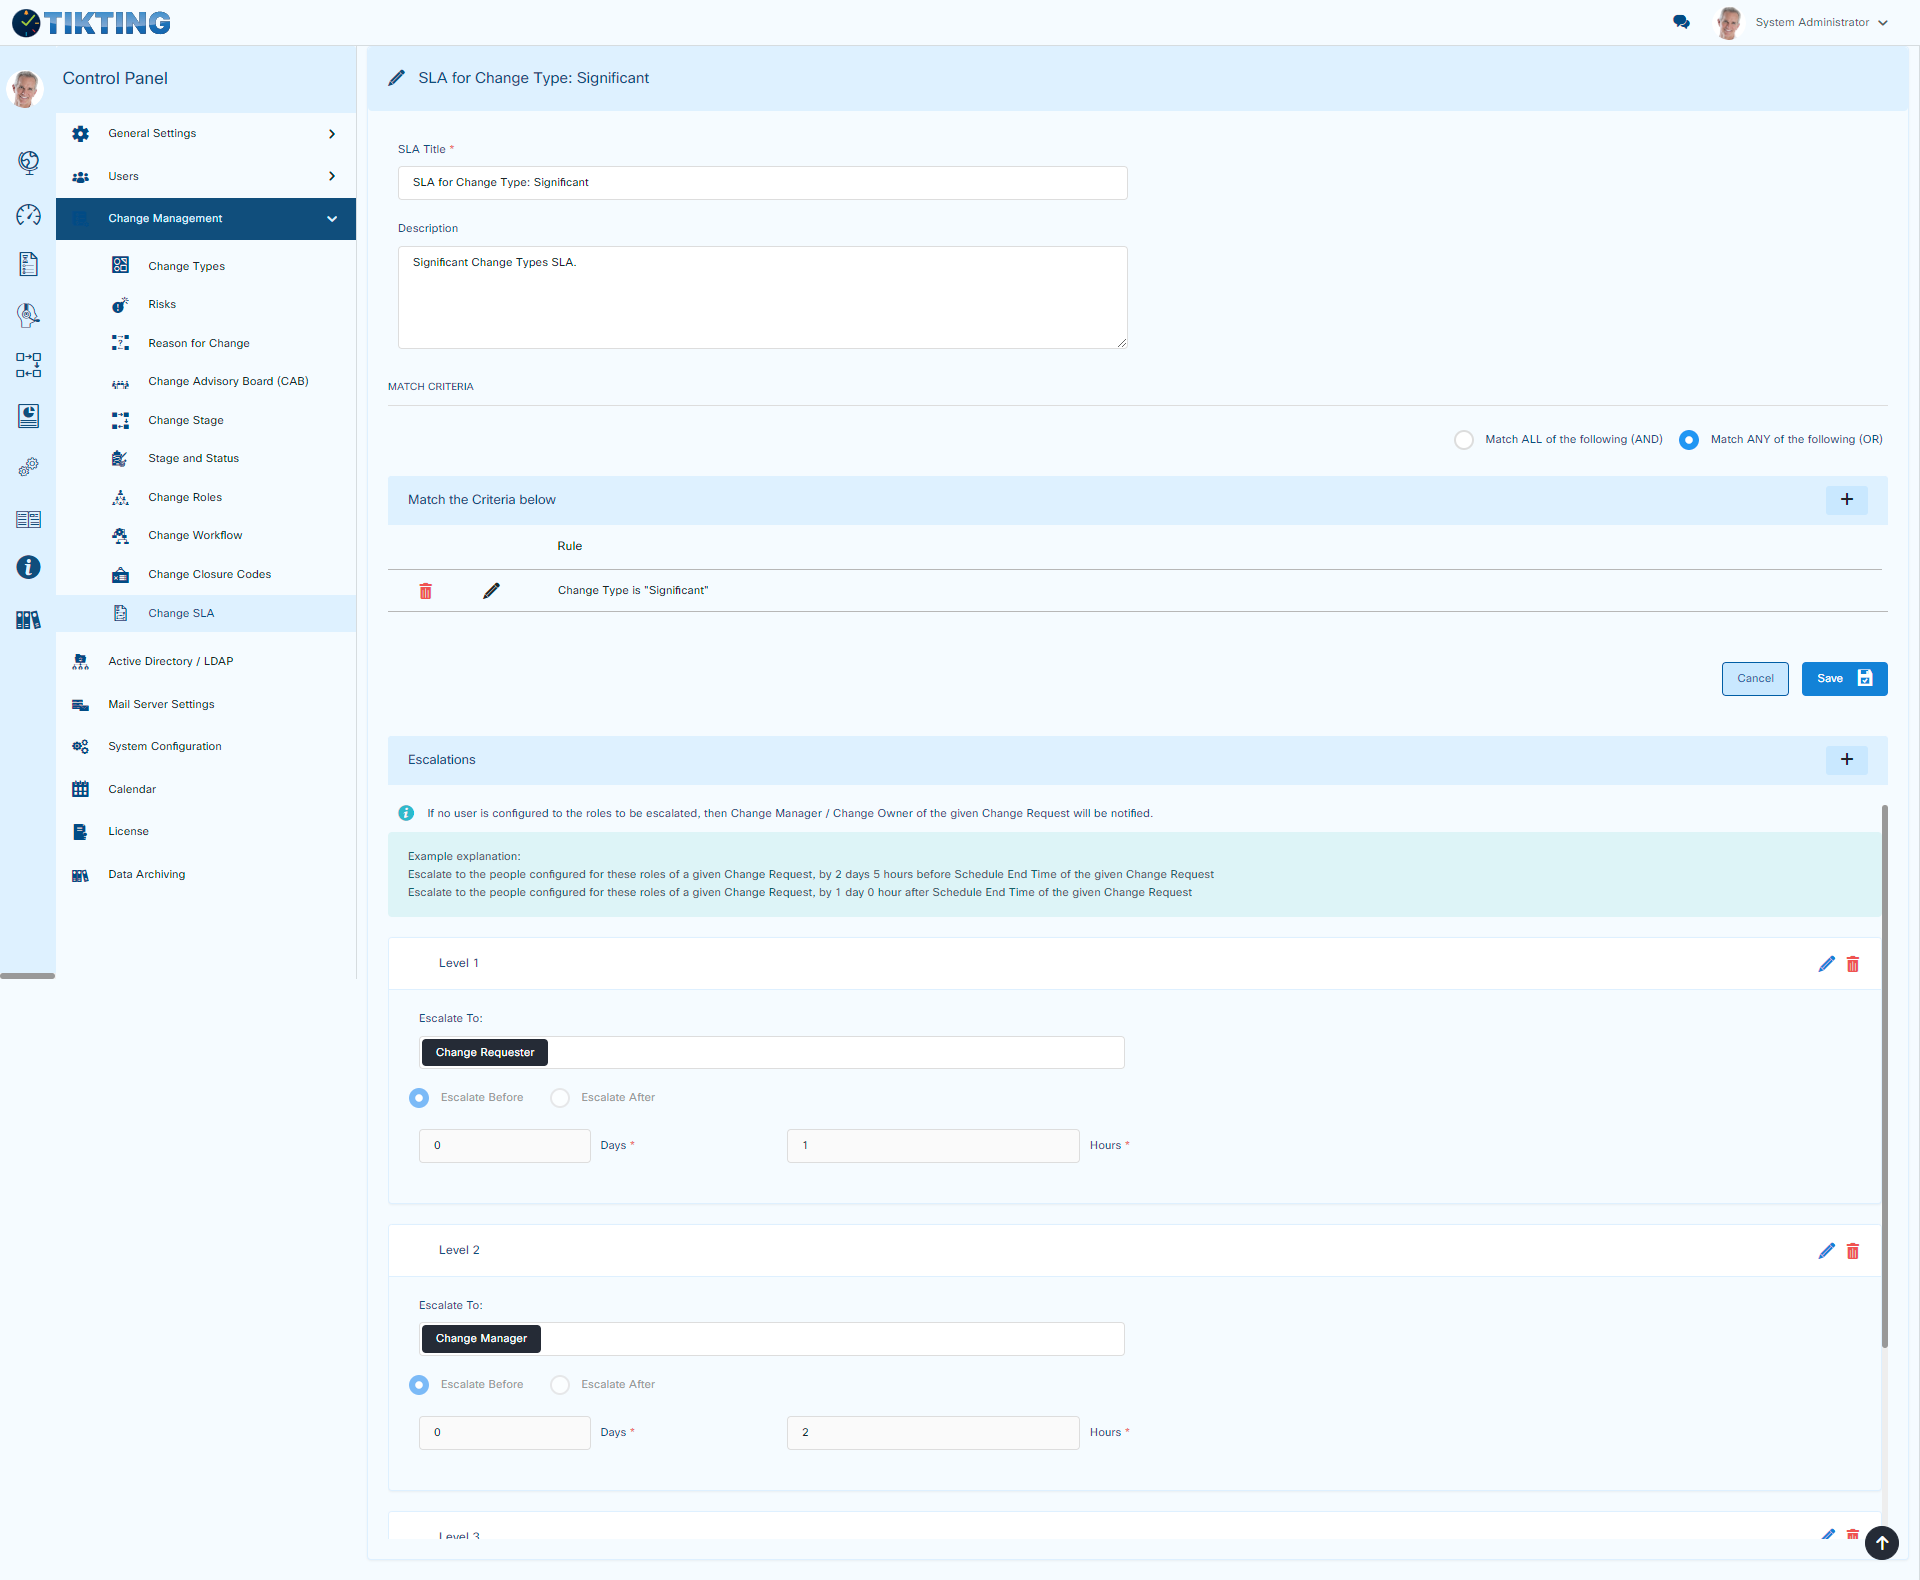
Edit Change SLA
To edit a Change SLA, go to:
Customize > Change Management > Change SLA
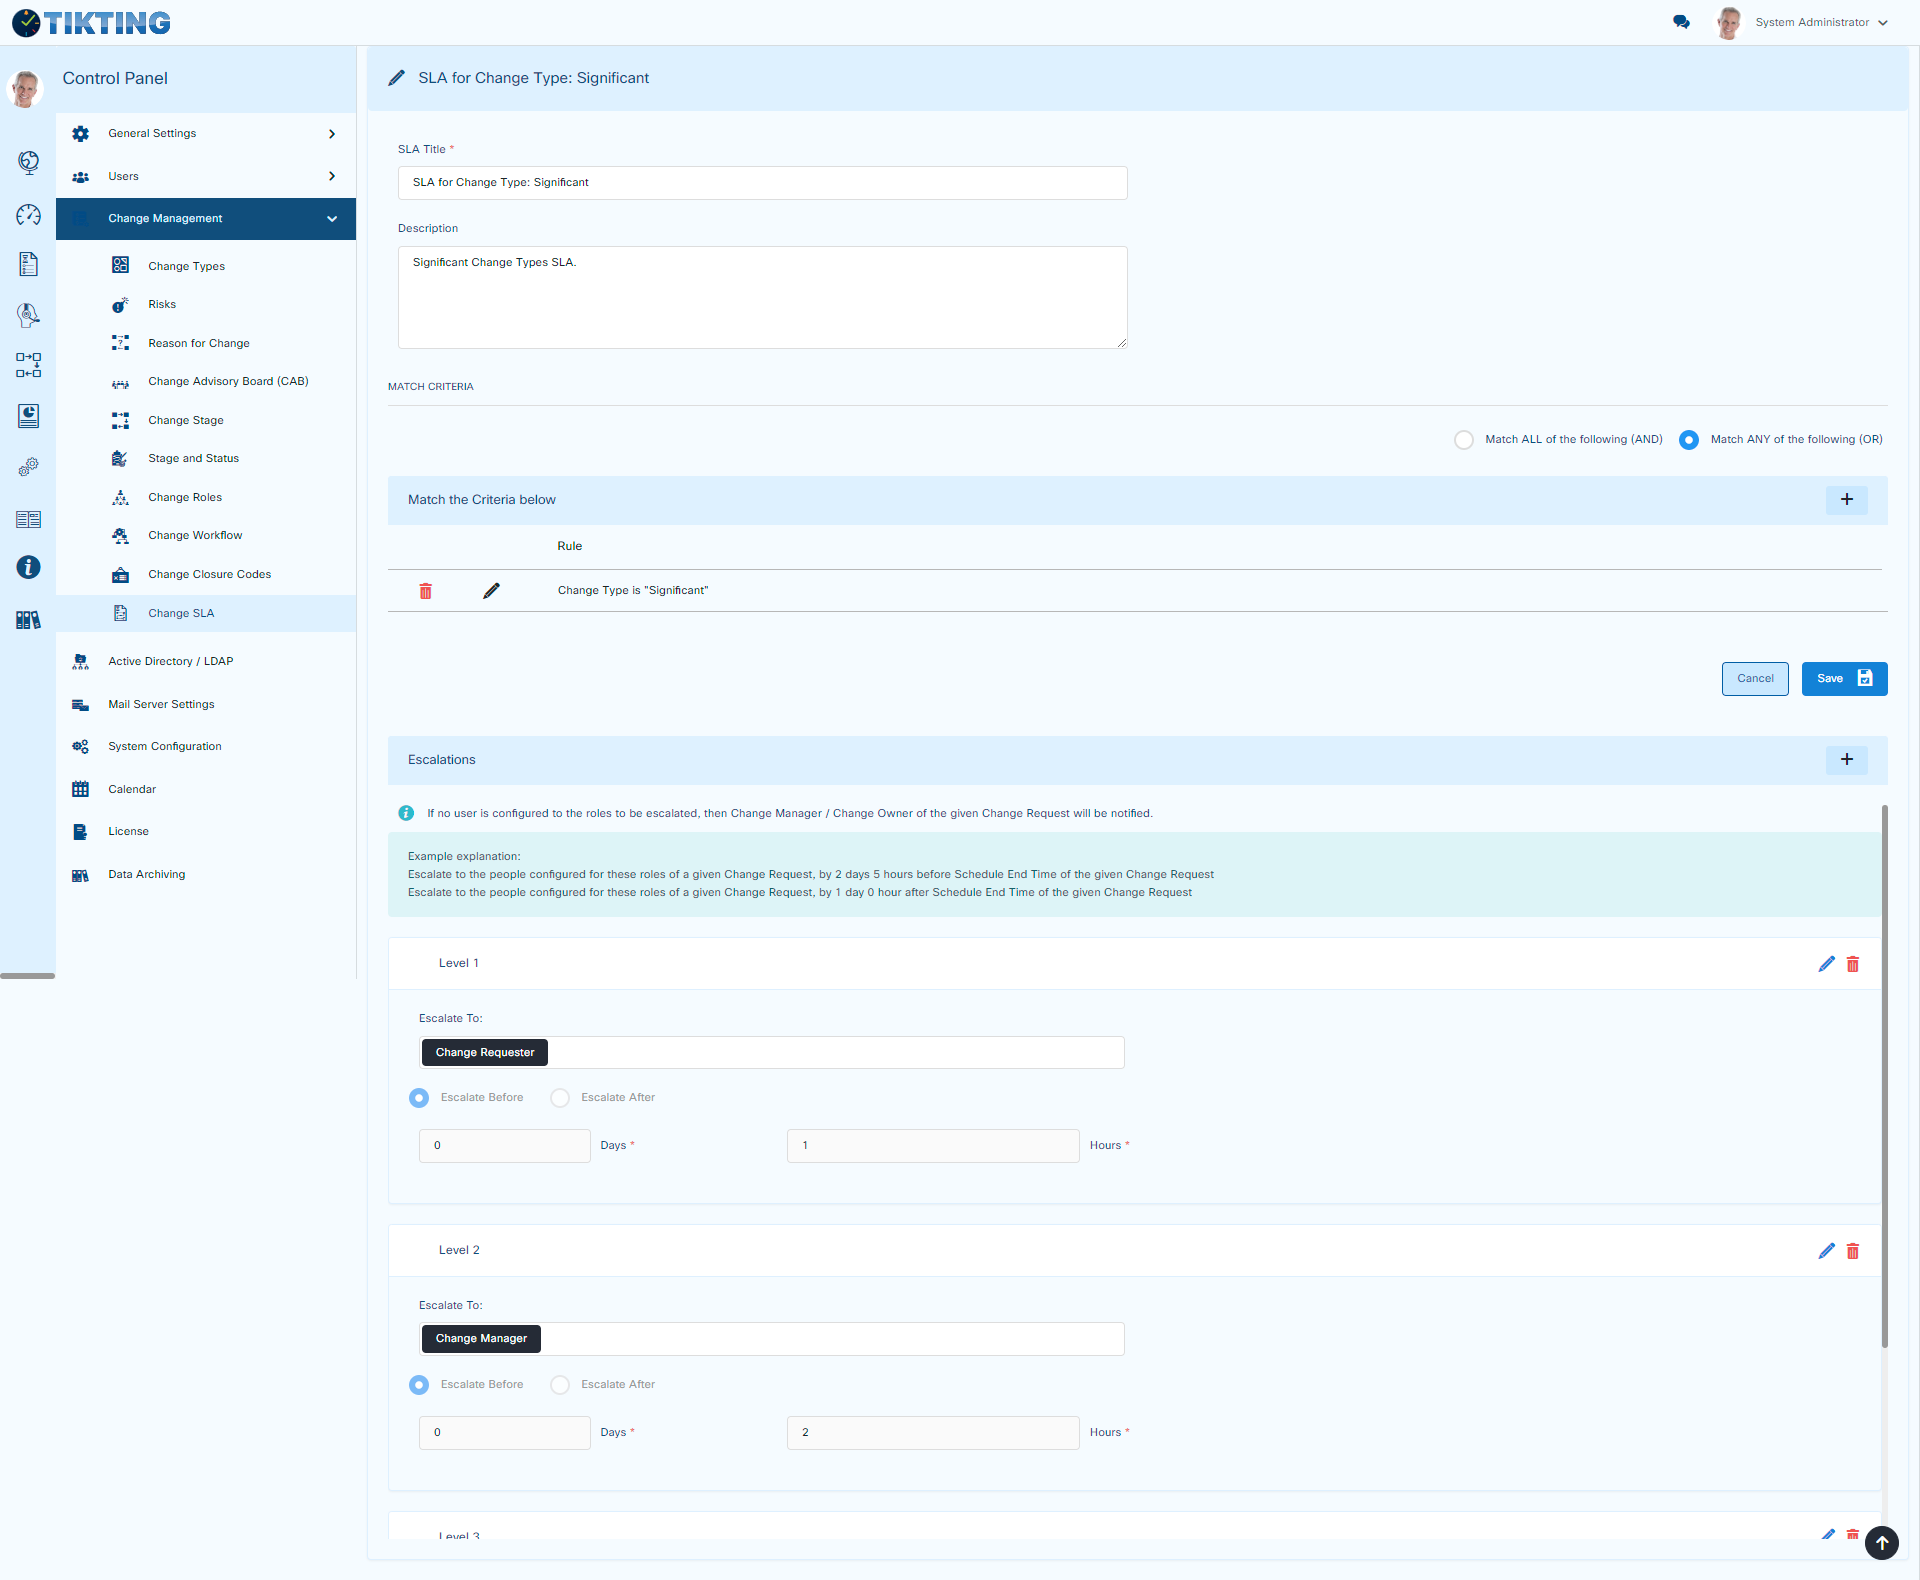
Press the edit button from the list and proceed.
Delete Change SLA
To delete a Change SLA, go to:
Customize > Change Management > Change SLA
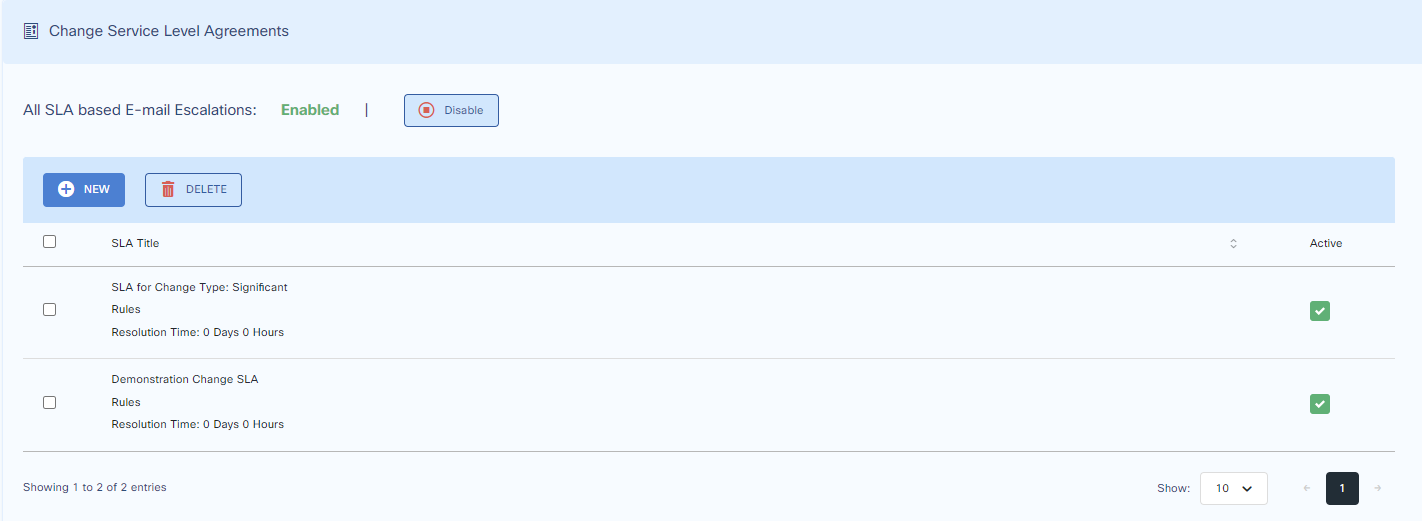
Press the delete button from the list and proceed.
Best Practices and General Cautions
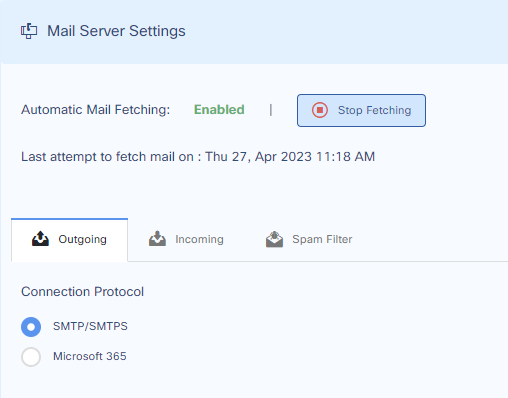
SLAs which are applied to a change request cannot be deleted. It is therefore advised that such a task is run with the mail server turned off.
To turn off the mail server, go to:
Customize > Mail Server Settings > Automatic Mail Fetching > Stop Fetching Button.
Test your SLA on an old ticket or manually create a change to test your settings.
Sometimes administrators overlook enabling the SLA-based email Escalations options at the top of the SLA customize page. This will prevent the system from sending the SLA violation escalation reminders / alerts to the person for whom such escalations are configured.
Go to Customize > General Settings > Service Level Agreements > Then Press Enable / Disable Button.
Go over the System Settings before making SLAs to optionally set default priority or tier levels applied to incoming tickets.